Pong: Creating and Configuring Our Game Instance
Prerequisites
- Have the Live Server extension installed on VSCode.
- Cloned the Git Repository containing the project starter files.
Overview
In this section of creating Pong, we will cover how to configure a basic Phaser game instance, learn how to create and launch a Phaser game instance, and declaring the functions for a new scene for further development.
Configuring the Game Instance
Before creating a Phaser game instance, we have to configure it first. All the options for the configuration can be found inside Phaser's Official Documentation, though we will only use a handful of these options in this simple Pong project.
- With VSCode open, navigate to the src folder and open the empty
game.jsfile. - At the start of the file, create an empty
configobject: -
Add inside of the
configobject thetypeattribute with a value ofPhaser.AUTO: -
Add the
parentattribute to theconfigobject with a value of'game':Warning
Remember to add commas at the end of each key-value pair inside of the
configobject.The
parentattribute tells Phaser the HTML ID of the HTML element that the game will be injected into. We will set that up in the next step. -
Navigate to the root of the directory and open
index.htmlin VSCode. -
Inside of the body tag in the HTML, create a
Now that Phaser knows where to inject the game in the HTML file, we can go back to configuring our Phaser game.divwith an ID ofgame, to match the value given to theparentattribute in theconfigobject: -
Return to editing the
game.jsfile in VSCode. -
Add the
widthandheightattributes to theconfigobject, withwidthhaving a value of800and theheighthaving a value of640.- The
widthandheightattributes define the resolution of the Phaser game when rendered in the browser.
- The
-
Insert the following
scaleobject intoconfig, with themodeandautoCenterattributes and their values:Thegame.js scaleobject with the given attributes tells Phaser to:- Resize the game screen to fit the space of its parent HTML element, regardless of aspect ratio.
- Render the game screen in the center of the window.
Phaser Attributes are Case Sensitive
All attributes that are part of the
Phaserobject are case-sensitive. In this case, the "scale" inPhaser.Scalehas to start with an uppercase letter. Getting the scale attribute withPhaser.scale(scale with a lowercase 's') will not work. -
Insert the
physicsobject intoconfig, with thedefaultandarcadeattributes and their values:The insertedgame.js physicsobject tells Phaser to:- Set the physics engine to Arcade. Other engines include Matter and Impact, but Arcade is the most commonly used.
- Sets the Arcade engine's gravity to false, as Pong doesn't use gravity in its gameplay.
Creating and Starting the Game Instance
After creating the basic configuration for our game, we can now create a Phaser game instance, add our configuration to it, and finally see it run in the browser.
-
Create a new
Phaser.Gameinstance by adding the code below, after theconfigobject definition:game.js -
At the bottom-right of the VSCode window, click Go Live to start up the live server for the Phaser app.
Success
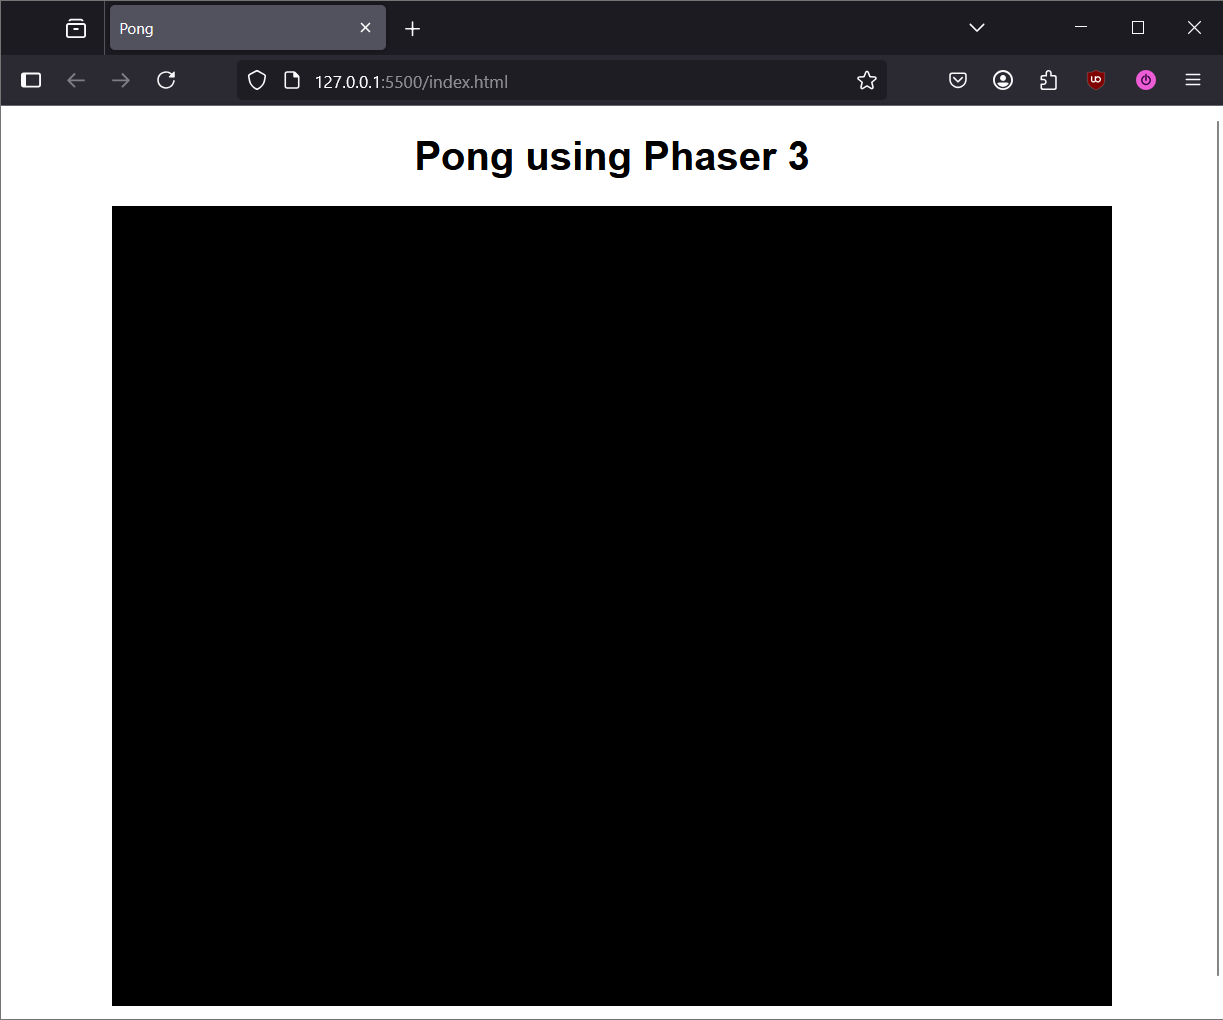
Once the live server has started, you should see a black screen in the center of the browser window. This means that Phaser has properly loaded the game instance.
Declaring a Scene
After creating a game instance, now we have to add a scene to it. Scenes in Phaser are screens with objects inside of them. A typical game will have multiple scenes with different objects in them.
Since we're only making a simple Pong game, we only need to declare one scene and its associated functions.
-
Insert the
sceneattribute into theconfigobject, and declare thepreload,create, andupdatefunctions inside of it:game.js - The
preloadfunction will preload all assets (e.g. images) for the scene. - The
createfunction is where we create the sprites for our game entities (i.e. the player paddles and the ball) and set their properties, like their size and physical interactions. - The
updatefunction runs every single frame while the game is running. This will be used to constantly check the game state and updating it accordingly, like updating the player's paddle coordinates when they hold down a certain key.
- The
-
Declare the
preload,create,updatefunctions:
Congratulations! 
You have now created a basic Phaser app that is now ready to be developed into a simple Pong game.
Starter Code
Conclusion
By the end of this section, you will have learned the following:
- How to configure a Phaser game instance
- How to create a Phaser game instance
- How to declare a scene and its functions for further development.
Well done! Now you can move onto the next step: